在〈Widget 的 Key(一)〉中談到了 key 的作用,現在回到其中範例還沒有設置 key 的情境,假設你的便利貼 App,Note 為了能儲存、修改便利貼訊息,改繼承了 StatefulWidget:
import 'package:flutter/material.dart';

void main() => runApp(MyNote());

class MyNote extends StatelessWidget {
  @override
  Widget build(BuildContext context) {
    return MaterialApp(
      title: 'My Note',
      home: MyHomePage(title: 'My Note Home Page'),
    );
  }
}

class MyHomePage extends StatefulWidget {
  MyHomePage({this.title});

  final String title;

  @override
  _MyHomePageState createState() => _MyHomePageState();
}

// Note 現在繼承了 StatefulWidget
class Note extends StatefulWidget {
  Color color;
  double width;
  double height;

  Note({this.color, this.width, this.height});

  @override
  State<StatefulWidget> createState() => _NoteState(this);
}

class _NoteState extends State<Note> {
  Note note;

  _NoteState(this.note);

  @override
  Widget build(BuildContext context) {
    return Container(
      color: note.color,
      width: note.width,
      height: note.height,
    );
  }
}

class _MyHomePageState extends State<MyHomePage> {
  final notes = [
    Note(
      color: Colors.red,
      width: 200,
      height: 200,
    ),
    Note(
      color: Colors.blue,
      width: 200,
      height: 200,
    )
  ];

  void _round_robin() {
    setState(() {
      notes.add(notes.removeAt(0));
    });
  }

  @override
  Widget build(BuildContext context) {
    return Scaffold(
      body: Center(
        child: Stack(
          children: notes,
        ),
      ),
      floatingActionButton: FloatingActionButton(
        onPressed: _round_robin,
        tooltip: 'round robin',
        child: Icon(Icons.swap_vert),
      ),
    );
  }
}
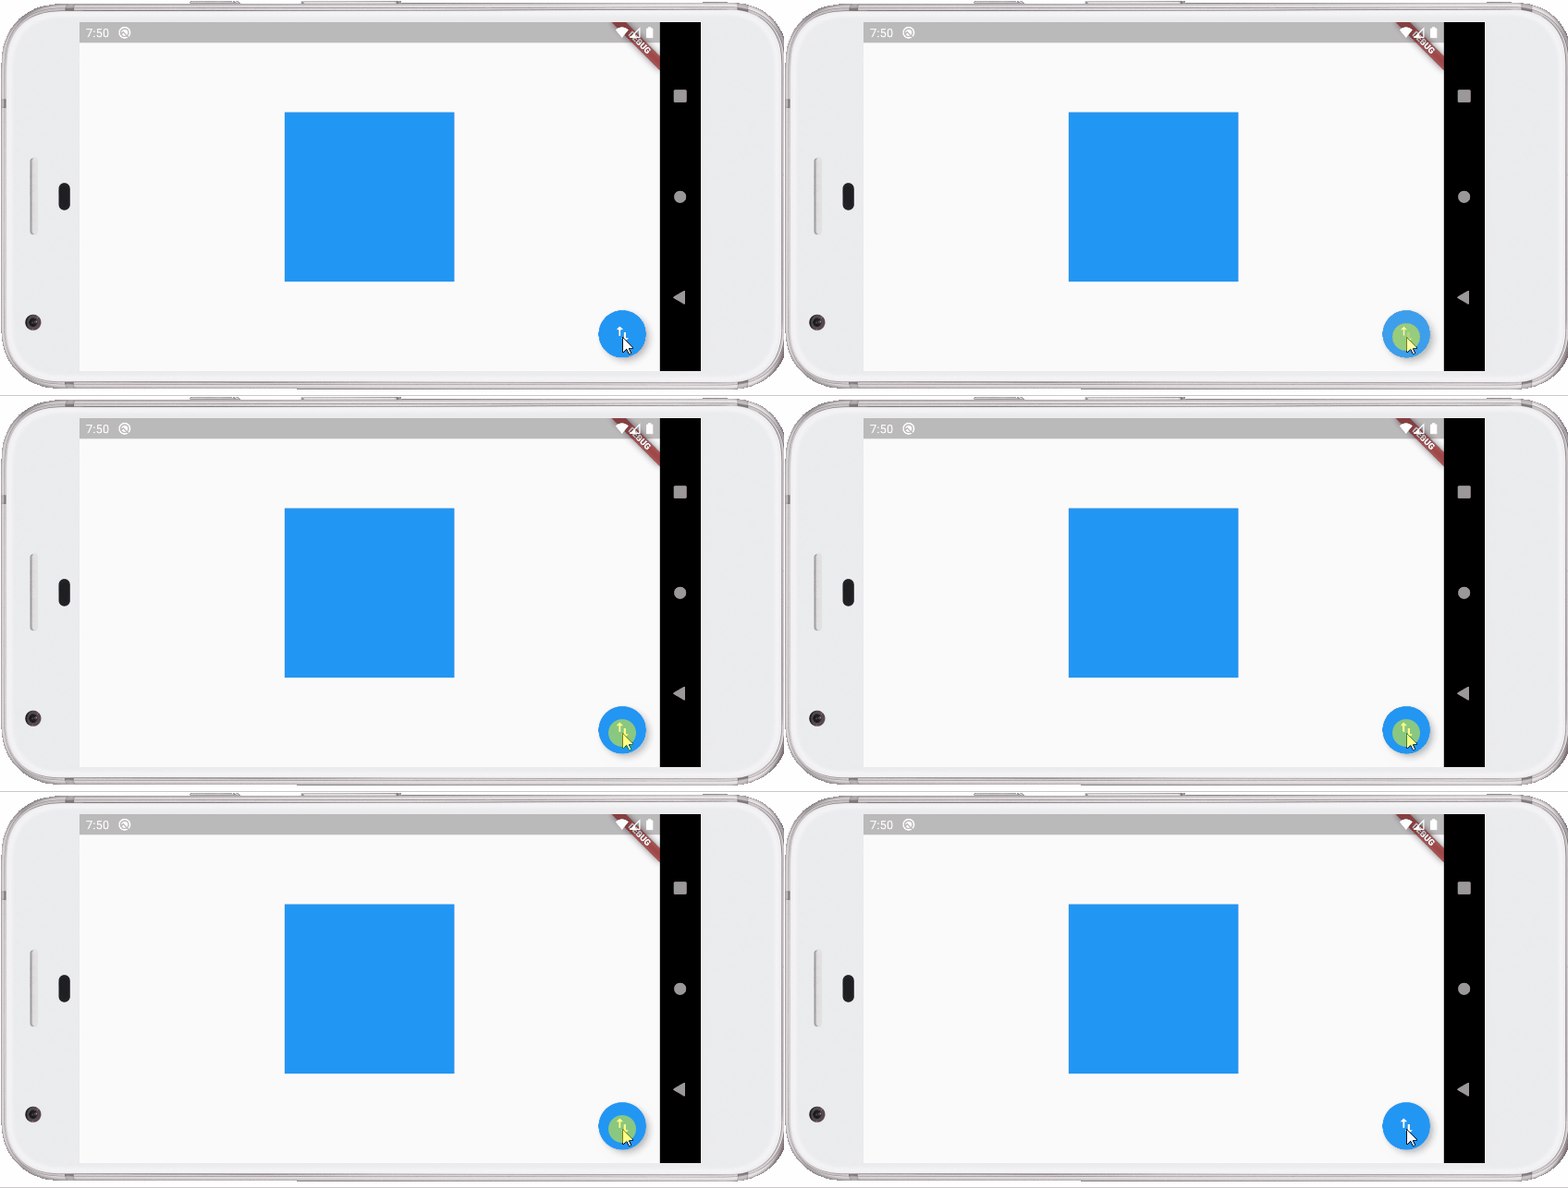
結果你發現按鈕怎麼按,畫面就是不會動:

來看看是怎麼一回事,一開始 Widget 樹與 Element 樹是這樣的:
StatefulWidget 的 createElement 傳回的,是 Element 的子類 StatefulElement 實例,現在顏色資訊不在 Note 上,而是在 _NoteState,而 Note 對應的 Element 節點,才會參考到 _NoteState(六角形圖示),這也可以從 StatefulElement 的原始碼中看到:
class StatefulElement extends ComponentElement {
  /// Creates an element that uses the given widget as its configuration.
  StatefulElement(StatefulWidget widget)
      : _state = widget.createState(),
        super(widget) {
    _state._element = this;
    _state._widget = widget;
  }
  ...
在按下按鈕後,因為 Note 沒有設置 key,根據〈Widget 的 Key(一)〉的說明,Widget 樹與 Element 樹會變為:
Widget 樹中的 Note 節點是有調換了沒錯,然而由於沒有設置 key,Element 樹不會調整,只是對應的 Element 參考了新的 Widget,問題就在於,Element 的 _NoteState 並沒有換,繪製時的顏色狀態,是來自 _NoteState,結果畫面還是看到藍色。
要解決這個問題,可以為 Note 加上 key:
import 'package:flutter/material.dart';

void main() => runApp(MyNote());

...略

class Note extends StatefulWidget {
  Color color;
  double width;
  double height;

  // 設置 key
  Note({Key key, this.color, this.width, this.height}) : super(key: key);

  @override
  State<StatefulWidget> createState() => _NoteState(this);
}

...略

class _MyHomePageState extends State<MyHomePage> {
  int _idx = 0;
  final notes = [
    Note(
      key: UniqueKey(),  // 設置 key
      color: Colors.red,
      width: 200,
      height: 200,
    ),
    Note(
      key: UniqueKey(),  // 設置 key
      color: Colors.blue,
      width: 200,
      height: 200,
    )
  ];

  ...略
}
Note 加上 key 之後,根據〈Widget 的 Key(一)〉的說明,會因為 canUpdate 傳回 false,Element 樹必須與 Widget 樹有對應的調整,這時的兩棵樹會是:
這時就可以根據 Element 各自的顏色狀態來繪製,因此可以看到兩個顏色交替。
調整某些 StatefulWidget 節點時,該 StatefulWidget 節點必須設置 key,而且一定要設置在該節點,否則會導致新的 Element 產生,而使得 State 物件重新產生,這就無法保留狀態了。
為了做個實驗,來修改一下 Note 與 _NoteState,令顏色是隨機設置,並在 Note 外加個 Padding,例如:
import 'package:flutter/material.dart';
import 'dart:math';

void main() => runApp(MyNote());

class MyNote extends StatelessWidget {
  @override
  Widget build(BuildContext context) {
    return MaterialApp(
      title: 'My Note',
      home: MyHomePage(title: 'My Note Home Page'),
    );
  }
}

class MyHomePage extends StatefulWidget {
  MyHomePage({this.title});

  final String title;

  @override
  _MyHomePageState createState() => _MyHomePageState();
}

class Note extends StatefulWidget {
  double width;
  double height;

  // 設置 key
  Note({Key key, this.width, this.height}) : super(key: key);

  @override
  State<StatefulWidget> createState() => _NoteState(this);
}

class _NoteState extends State<Note> {
  Note note;
  Color color;

  _NoteState(this.note);

  @override
  void initState() {
    super.initState();

    // 隨機顏色
    var rand = new Random();
    color = Color.fromARGB(255,
        rand.nextInt(255), rand.nextInt(255), rand.nextInt(255));
  }

  @override
  Widget build(BuildContext context) {
    return Container(
      color: color,
      width: note.width,
      height: note.height,
    );
  }
}

class _MyHomePageState extends State<MyHomePage> {
  final notes = [
    Padding(  // 加上 Padding
      child: Note(
        key: UniqueKey(),
        width: 200,
        height: 200,
      ),
      padding: EdgeInsets.all(8.0),
    ),
    Padding(  // 加上 Padding
      child: Note(
        key: UniqueKey(),
        width: 200,
        height: 200,
      ),
      padding: EdgeInsets.all(8.0),
    ),
  ];

  void _round_robin() {
    setState(() {
      notes.add(notes.removeAt(0));
    });
  }

  @override
  Widget build(BuildContext context) {
    return Scaffold(
      body: Center(
        child: Stack(
          children: notes,
        ),
      ),
      floatingActionButton: FloatingActionButton(
        onPressed: _round_robin,
        tooltip: 'round robin',
        child: Icon(Icons.swap_vert),
      ),
    );
  }
}
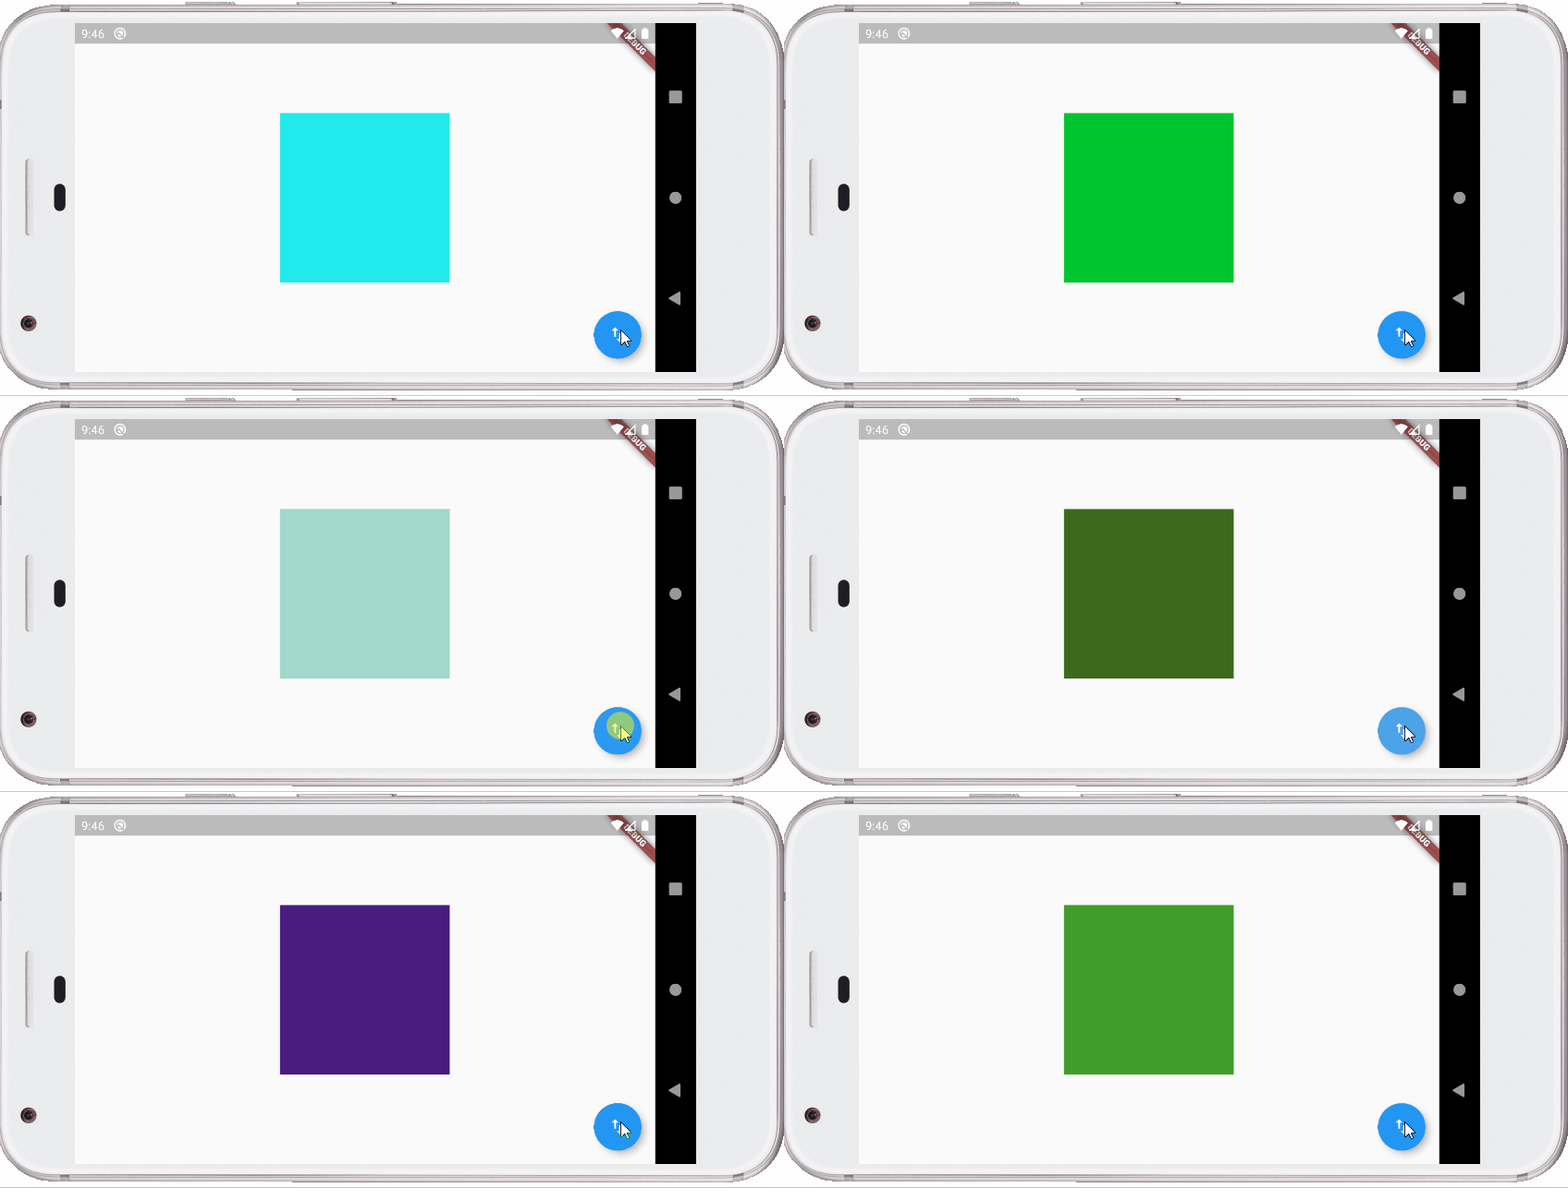
注意,雖然 Note 設置了 key,但 Padding 沒有設置 key,如果執行程式的話,會發生顏色不斷隨機變化:

來看看為什麼,假設一開始的顏色等是如下:
按下按鈕後,Widget 樹變化了,現在要開始檢查 Element 樹,來看到檢查第一個 Padding 時:
Padding 中 Note 與 Element 的 key 對不起來,Flutter 只會檢查目前子樹,不會去看另一個 Padding 子樹,這時原本的 Element 會被丟棄,使用 Note 的 createElement 建立一個新的 Element,而新的 State 也就隨之建立,結果又是另一個隨機色了。
解決的方式是,在 Padding 設置 key:
...略
class _MyHomePageState extends State<MyHomePage> {
  final notes = [
    Padding(
      key: UniqueKey(),  // 設置 key
      child: Note(
        width: 200,
        height: 200,
      ),
      padding: EdgeInsets.all(8.0),
    ),
    Padding(
      key: UniqueKey(),  // 設置 key
      child: Note(
        width: 200,
        height: 200,
      ),
      padding: EdgeInsets.all(8.0),
    ),
  ];
  ...略
}
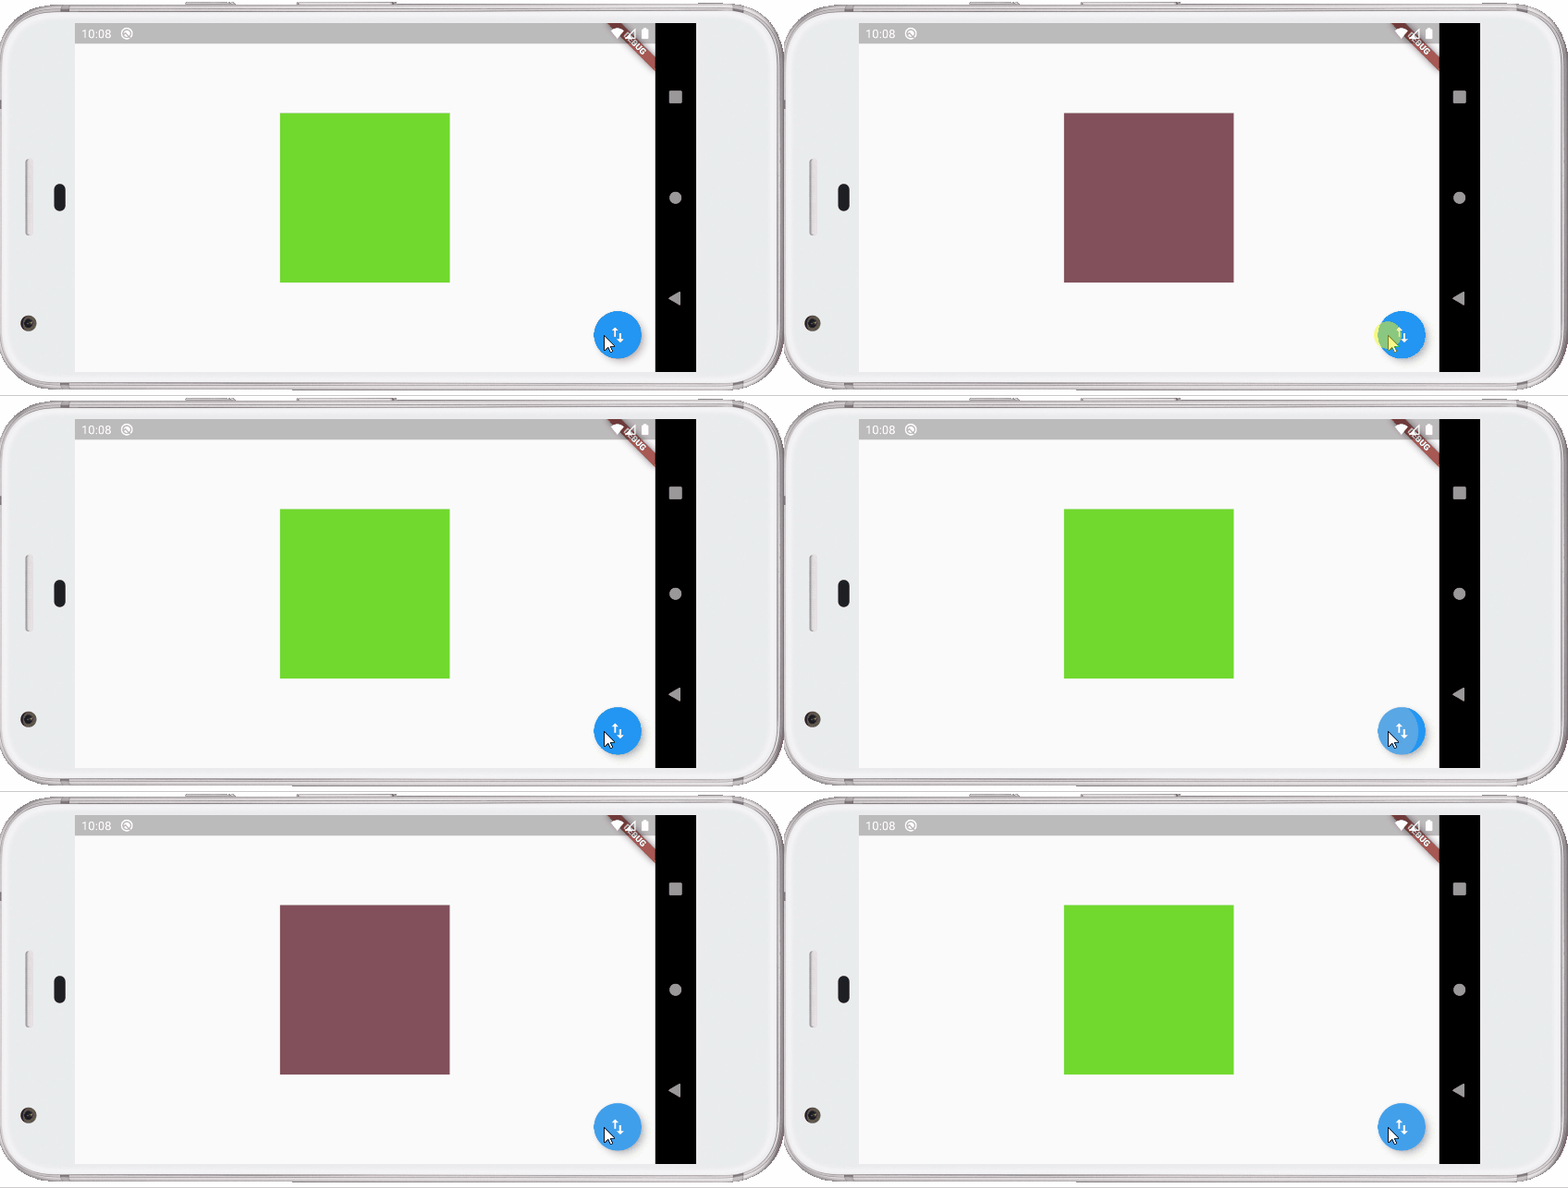
這麼一來,Widget 樹的 Padding 節點調整了,Element 樹的部份也會跟著調整,也就沒有了方才的問題,一開始的兩個顏色是隨機的,而後交替出現:


