認識 ListView 與 GridView 之後,很自然地會有一種想法,感覺它比 Column 與 Row 有彈性,如果拿來取代 Column 與 Row 作為佈局工具不是很好,必要時還可以有捲動的功能?
別這麼做,直接把 ListView 與 GridView 拿來組合,會遇到許多問題,而且就算組合出畫面了,捲動的效果也很奇怪,來看個實例吧!
import 'package:flutter/material.dart';

void main() => runApp(
  MaterialApp(
    home: Scaffold(
        appBar: AppBar(title: Text('Openhome.cc')),
        body: ListView(
          children: [
            Container(
              height: 200,
              color: Colors.red,
            ),
            GridView.count(
              shrinkWrap: true,
              crossAxisCount: 2,
              children: [
                Container(
                  color: Colors.green,
                ),
                Container(
                  color: Colors.blue,
                ),
                Container(
                  color: Colors.yellow,
                ),
                Container(
                  color: Colors.blueGrey,
                )
              ],
            ),
            Container(
              height: 200,
              color: Colors.deepOrangeAccent,
            ),
          ],
        )
    ),
  )
);
預設 GridView(以及 ListView)的捲動方向沒有邊界,就這個例子來說,如果捲動的方向沒有約束的話,ListView 無法取得 GridView 的高,這時就會發生錯誤,這時必須將 GridView 的 shrinkWrap 必須設為 true,GridView 的高會是子元件的加總,ListView 才可取得 GridView 的高。
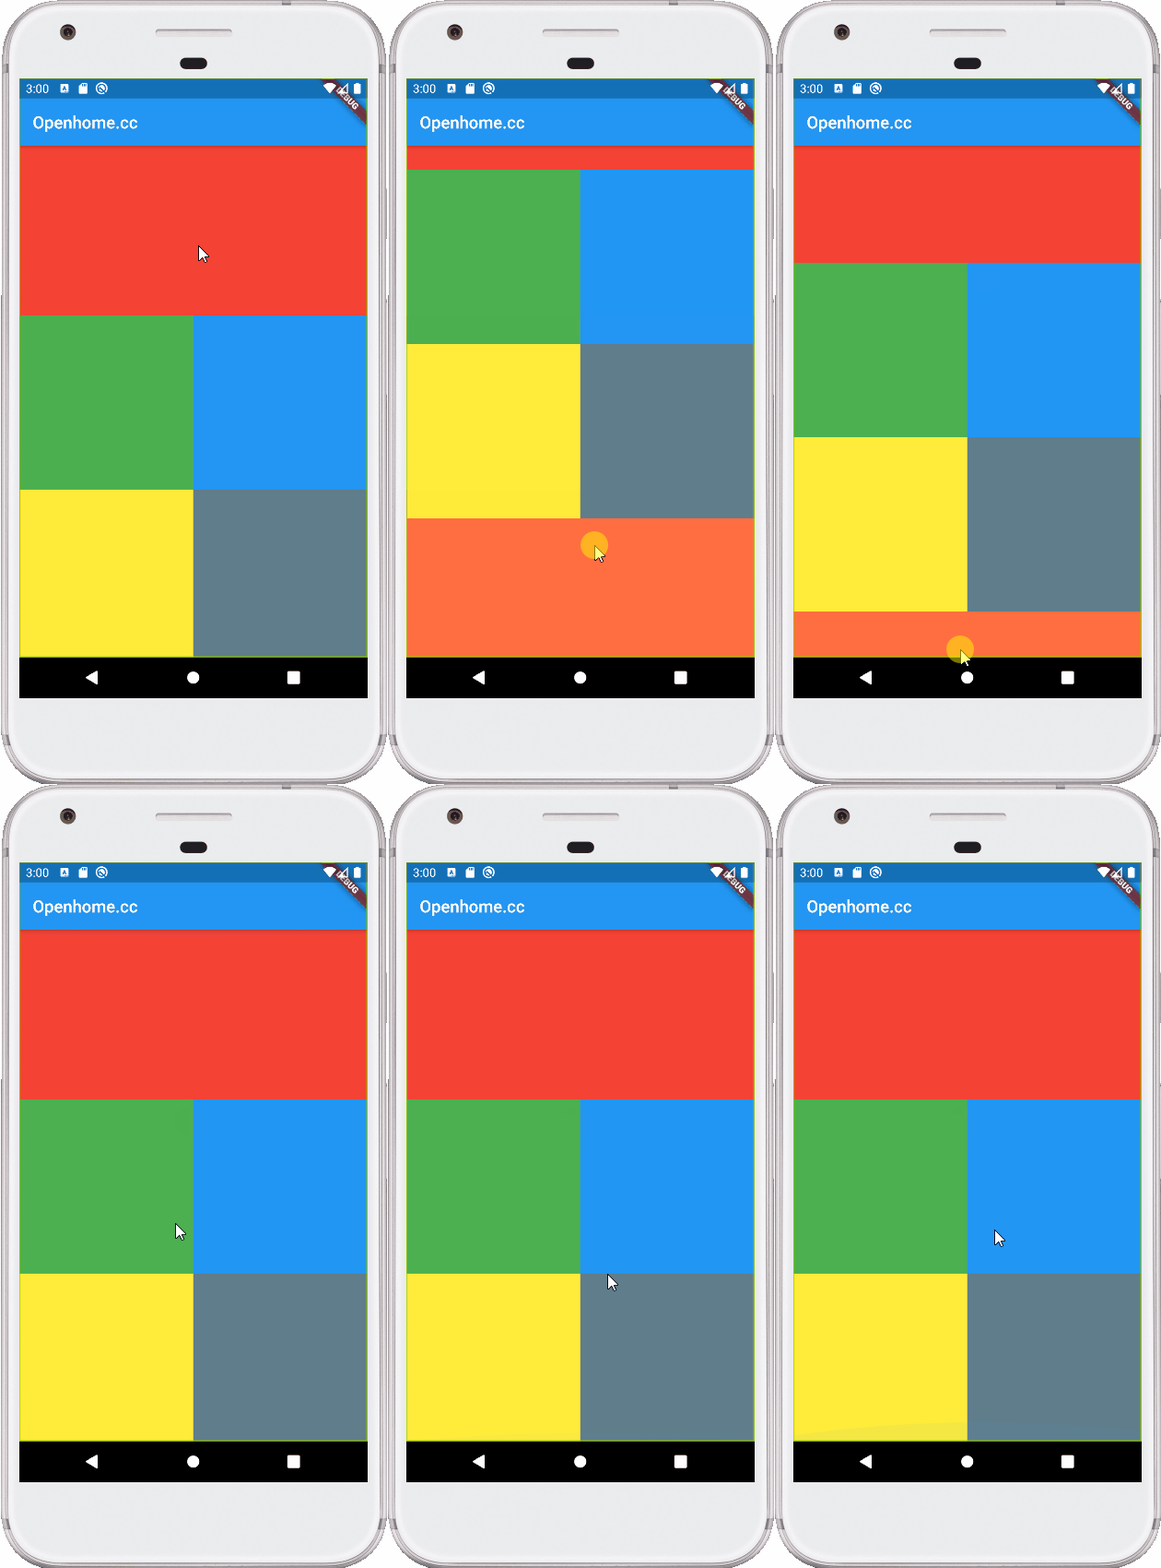
然而,這個範例在捲動上的行為不一致,在 GridView 的範圍內操作時,並不會捲動:

這是因為 ListView 與 GridView 各自管理著自身的捲動,就中間那個範圍來說,你的拖曳操作到底是該由 ListView 管呢?還是由 GridView 管呢?
解決這個問題的方式之一,是只使用一個捲動管理,例如,透過 SingleChildScrollView、Column 與 Row 來組合:
import 'package:flutter/material.dart';

void main() => runApp(
  MaterialApp(
    home: Scaffold(
      appBar: AppBar(title: Text('Openhome.cc')),
      body: SingleChildScrollView(
        child: Column(
          children: [
            Container(
              height: 200,
              color: Colors.red,
            ),
            Row(
              children: [
                Expanded(
                  child: Container(
                    height: 200,
                    color: Colors.green,
                  ),
                ),
                Expanded(
                  child: Container(
                    height: 200,
                    color: Colors.blue,
                  ),
                ),
              ],
            ),
            Row(
              children: [
                Expanded(
                  child: Container(
                    height: 200,
                    color: Colors.yellow,
                  ),
                ),
                Expanded(
                  child: Container(
                    height: 200,
                    color: Colors.blueGrey,
                  ),
                ),
              ],
            ),
            Container(
              height: 200,
              color: Colors.deepOrangeAccent,
            ),
          ],
        ),
      )
    ),
  )
);
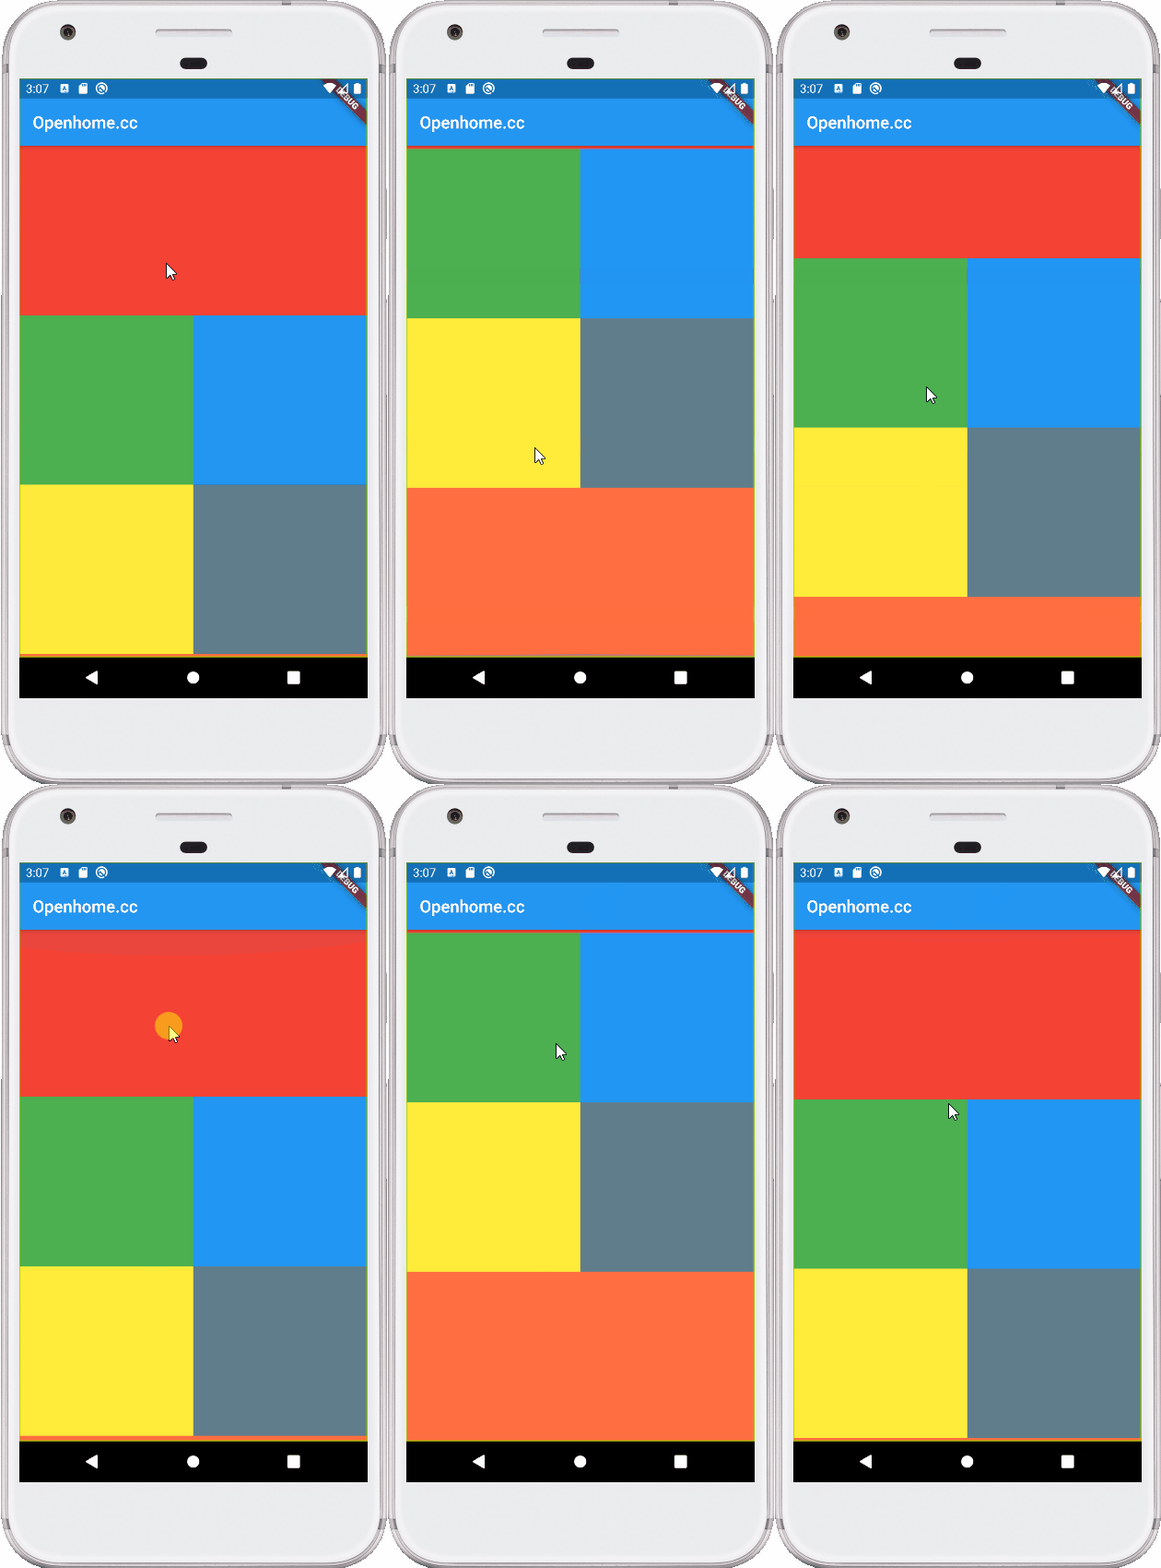
因為現在只有一個捲動管理,也就不會有方才的問題了:

就這個範例來說,你做的其實就是將幾個可捲動的區域組合起來,交由 SingleChildScrollView 來管理,只不過使用 Column 與 Row 來組合,必須費比較多的工夫,另一方面,如果需要延遲載入的效果,這個方式就無法達到。
在〈網格排列的 GridView〉中談過,Flutter 中一塊可捲動的區域被稱為 Silver,ListView、GridView 等,底層各自管理著自己的 Silver;如果你想組合 Silver,並讓由一個元件來統一管理組合後的結果,可以透過 CustomScrollView:
import 'package:flutter/material.dart';

void main() => runApp(
  MaterialApp(
    home: Scaffold(
      appBar: AppBar(title: Text('Openhome.cc')),
      body: CustomScrollView(
        slivers: [       // 組合 slivers
          SliverList(
            delegate: SliverChildListDelegate(
              [
                Container(
                  height: 200,
                  color: Colors.red,
                )
              ],
            )
          ),
          SliverGrid(
            gridDelegate: SliverGridDelegateWithFixedCrossAxisCount(crossAxisCount: 2),
            delegate: SliverChildListDelegate(
              [
                Container(
                  color: Colors.green,
                ),
                Container(
                  color: Colors.blue,
                ),
                Container(
                  color: Colors.yellow,
                ),
                Container(
                  color: Colors.blueGrey,
                )
              ],
            ),
          ),
          SliverList(
            delegate: SliverChildListDelegate(
              [
                Container(
                  height: 200,
                  color: Colors.deepOrangeAccent,
                )
              ],
            )
          )
        ],
      )
    ),
  )
);
留意到範例中使用的是 slivers 特性,雖然本質上 slivers 只是 List<Widget> 型態,不過必須可以捲動的元件,也就是實作了捲動相關協定的元件,Flutter 中提供了一系列 SliverXXX 的元件,可以提供這類協定,而實際上要顯示的元件,會包裹在這類元件之中。
大致上而言,Sliver 家族中的元件,相關的特性設定,類似於使用 ListView 與 GridView 時的相關特性;單就以上的範例來說,應該可以感受出,組合元件時比 SingleChildScrollView、Row、Column 來得簡單多了吧!以上範例的執行結果,與前一個範例是相同的。
來稍微談幾個 Sliver 元件,以上範例的第一個 Sliver,其實往往是標題的部份,Flutter 提供了個 SliverAppBar 可以專門處理可捲動的標題,例如:
import 'package:flutter/material.dart';

void main() => runApp(
  MaterialApp(
    home: Scaffold(
      appBar: AppBar(title: Text('Openhome.cc')),
      body: CustomScrollView(
        slivers: [
          SliverAppBar(                        // 使用 SliverAppBar
            title: Text("Here's a title."),
            backgroundColor: Colors.red,
            expandedHeight: 200.0,
          ),
          SliverGrid(
            gridDelegate: SliverGridDelegateWithFixedCrossAxisCount(crossAxisCount: 2),
            delegate: SliverChildBuilderDelegate((context, index) { // 延遲載入
                return Container(
                  color: Color.fromARGB(255, 50 * index, 50 * index, 50 * index)
                );
              },
              childCount: 4
            ),
          ),
          SliverList(
            delegate: SliverChildListDelegate(
              [
                Container(
                  height: 200,
                  color: Colors.deepOrangeAccent,
                )
              ],
            )
          )
        ],
      )
    ),
  )
);
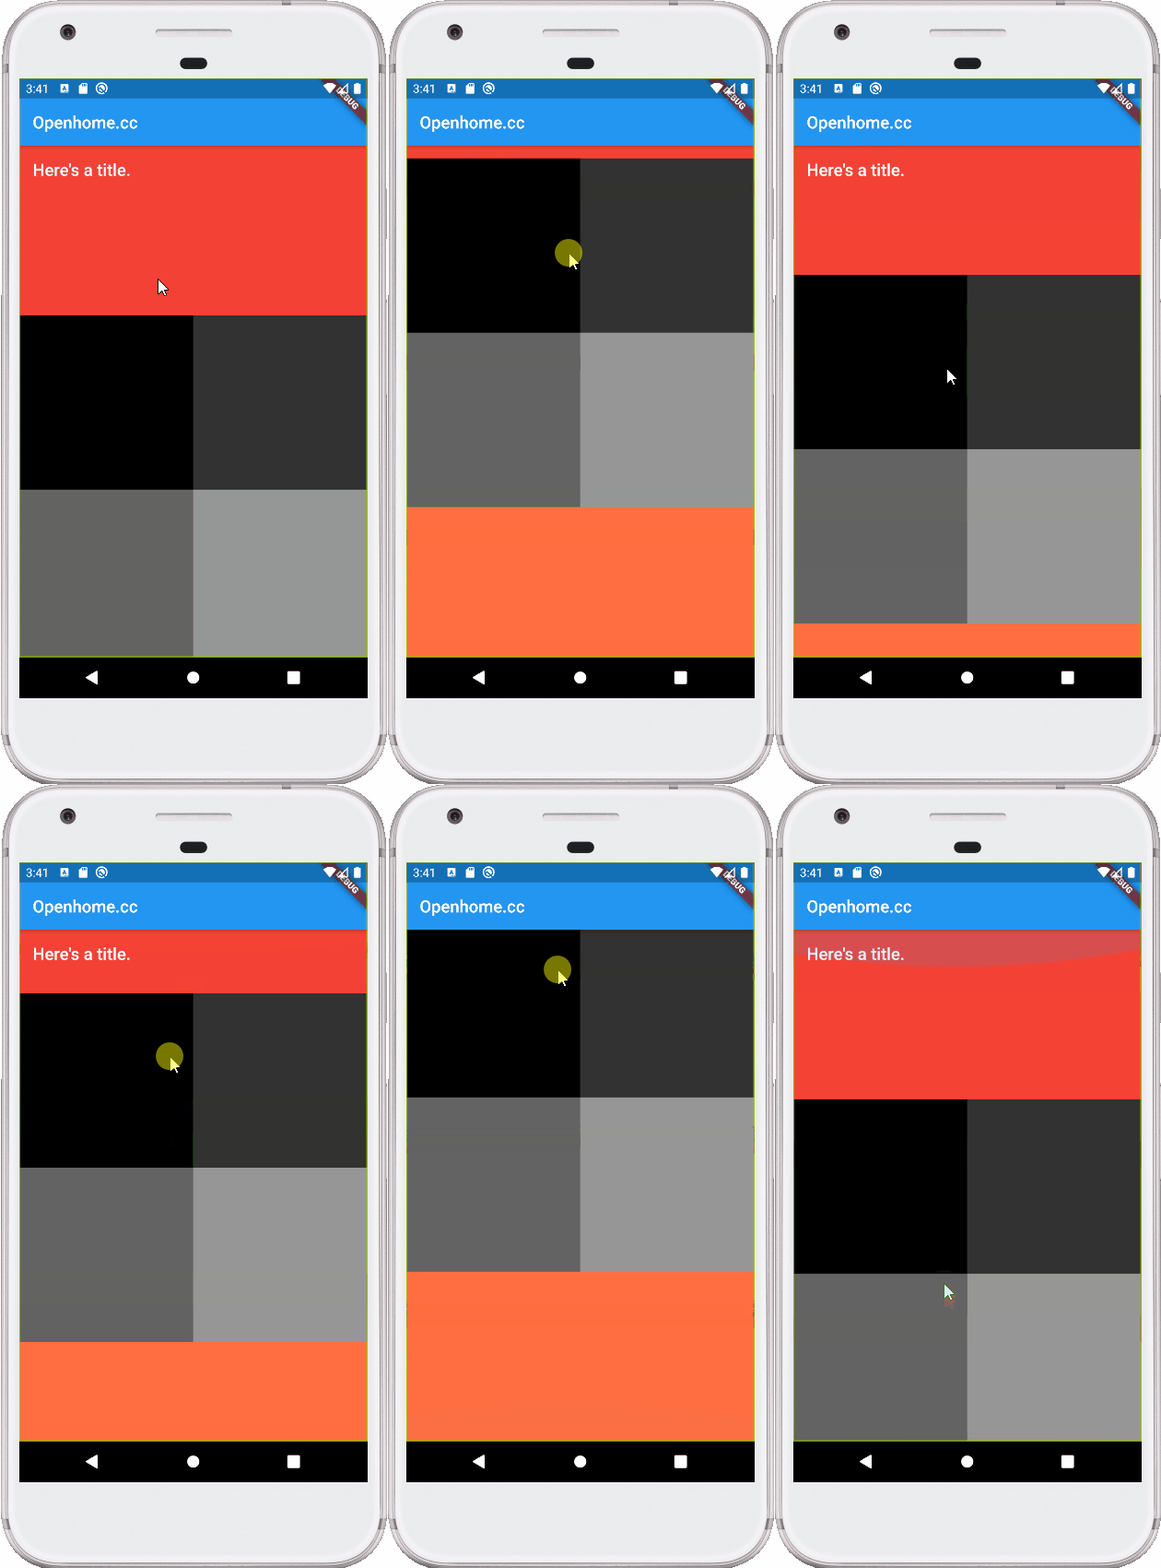
以上也示範了 SliverChildBuilderDelegate,這可以實現延遲載入,來看一下執行時的畫面,注意一下 SliverAppBar 的捲動行為與動畫效果:

Sliver 家族中的元件繁多,就不逐一介紹了,有興趣可以參考〈Slivers〉做更多的認識。

